![making web apps with django and python [1]](https://cdn.hashnode.com/res/hashnode/image/upload/v1665088144819/r9zjaelVw.png?w=1600&h=840&fit=crop&crop=entropy&auto=compress,format&format=webp)
making web apps with django and python [1]
how to start developing a web application with django


I recently started following a youtube tutorial on how to make web apps with django and felt it would help if i journaled my whole journey here , for memory plus it could help someone maybe. I'll journal the whole journey from start to finish.
In this article we will learn how to :
- setup a virtual environment for development.
- start a django project.
- Quick detour of files created .
- run the project in your browser.
setting up a virtual environment for our project
the commands are the same for all operating systems
Prerequisites:
Python3 [ nothing else just that].
- Please refer to this for python3 installation.
- Go on and open your terminal , let's type .
python3 -m venv pykith_env - The above command creates a virtual environment called
pykith_env, you can replace this with a name of your own choosing. - Now let's activate the virtual environment.
source pykith_env/bin/activate - The virtual env you created is now active.
- Create a folder for our project under a name of your choosing , I'll use
blog_projects.mkdir blog_projects - Now change directory to the folder you just created.
cd blog_projectsInstalling django starting your web application
- Time to install django, Let's use pip for this.
pip install django - Since django is now installed ,
- Lets see what commands we now have available to us. Type
django-dminin the terminal. - If everything is working fine , you should get something like this:
- Go on and open your terminal , let's type .
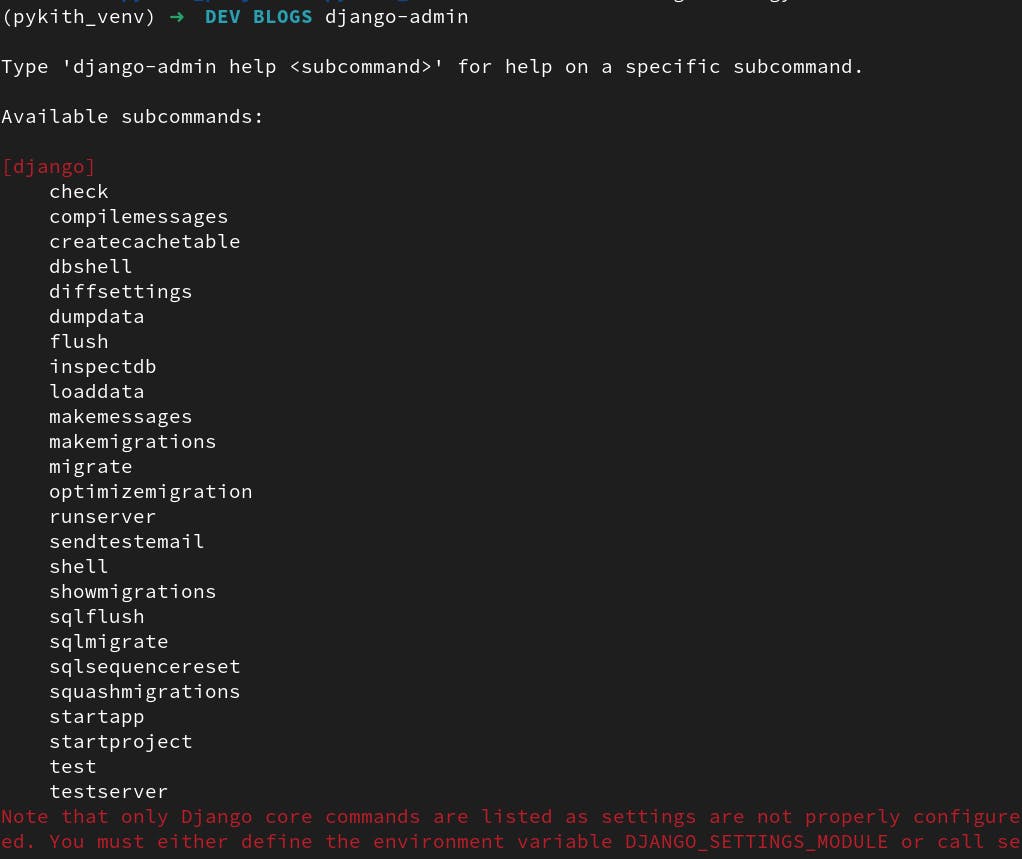
- those are the options we can use with the
django-admincommand, let's move on and use one of them to fire up our first project, we'll use thestartprojectoption. Find a name for your project, I'll usepykith_projectfor mine.django-admin startproject pykith_project - We'll take a quick detour of the files in the newly created project folder
pykith_project. You can use your file manager or IDE for this. - You'll find the following files created in the folder.
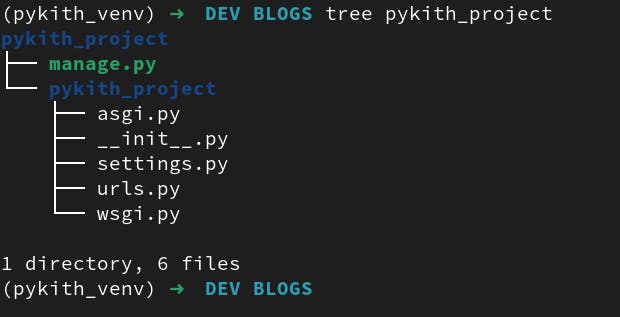
- In the base directory, we have a file
manage.pyand a directorypykith_project. - We we'll use the
manage.pyfile in future articles and down below when testing our web app in a browser. - The
settings.pyfile will definitely be used for managing different settings for our web application. wsgi.pyhandles rendering of files to the browser.wsgiin full is web site gateway interface I think.- Now change directory to the newly created dir
pykith_projectand run :python manage.py runserver

- This will start the application on 127.0.0.1:8000 which is localhost , copy that url as it is in your terminal and paste it in your browser url bar to render the app.
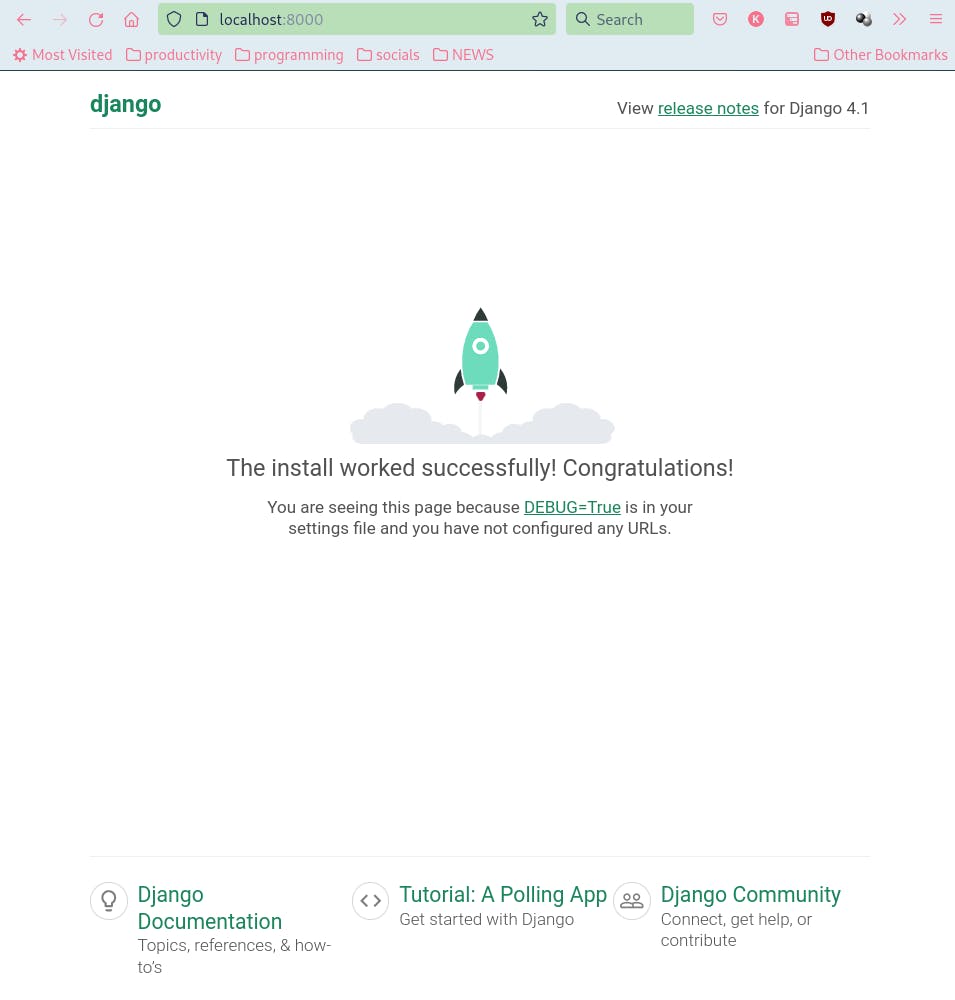
- If all is going well to this point , you should be able to see something like that with links to the documentation and a message denoting a successfull django installation.
- Now we will trying going to a differnt location on the web app , the
/admin/route. This is all handled by theurls.pyfile from the files you saw previously created. Let's take a quick look aturls.py.
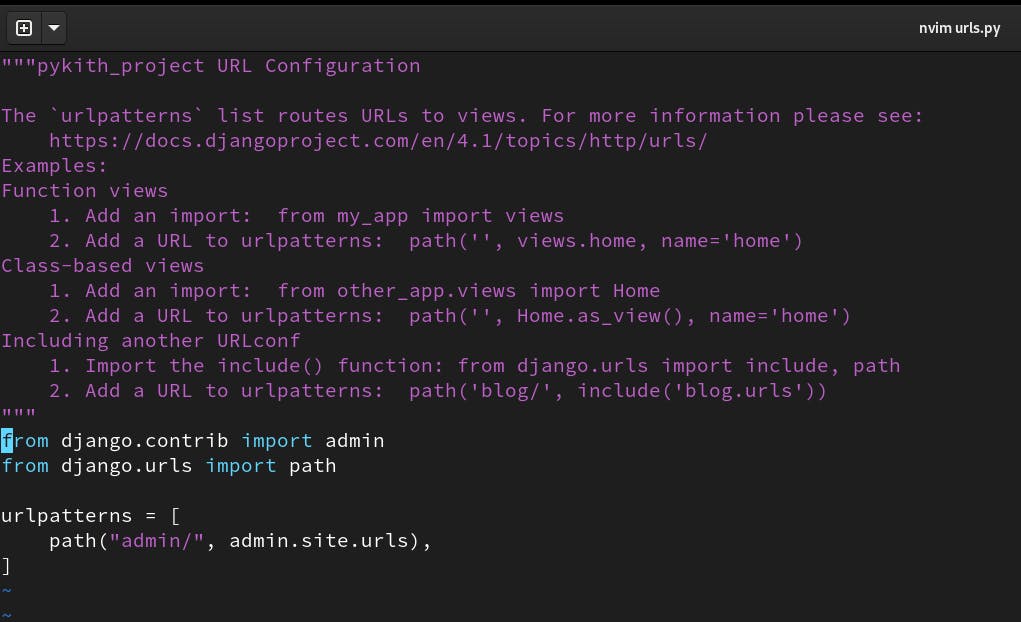
- From the code you see in the file, when we try to got to
/admin, theurls.pyfile sends our request toadmin.sites.urland the rest of the logic happens there. - Now go to the url you typed in your browser and add
/admin. This should take you to the default admin login page for Django.
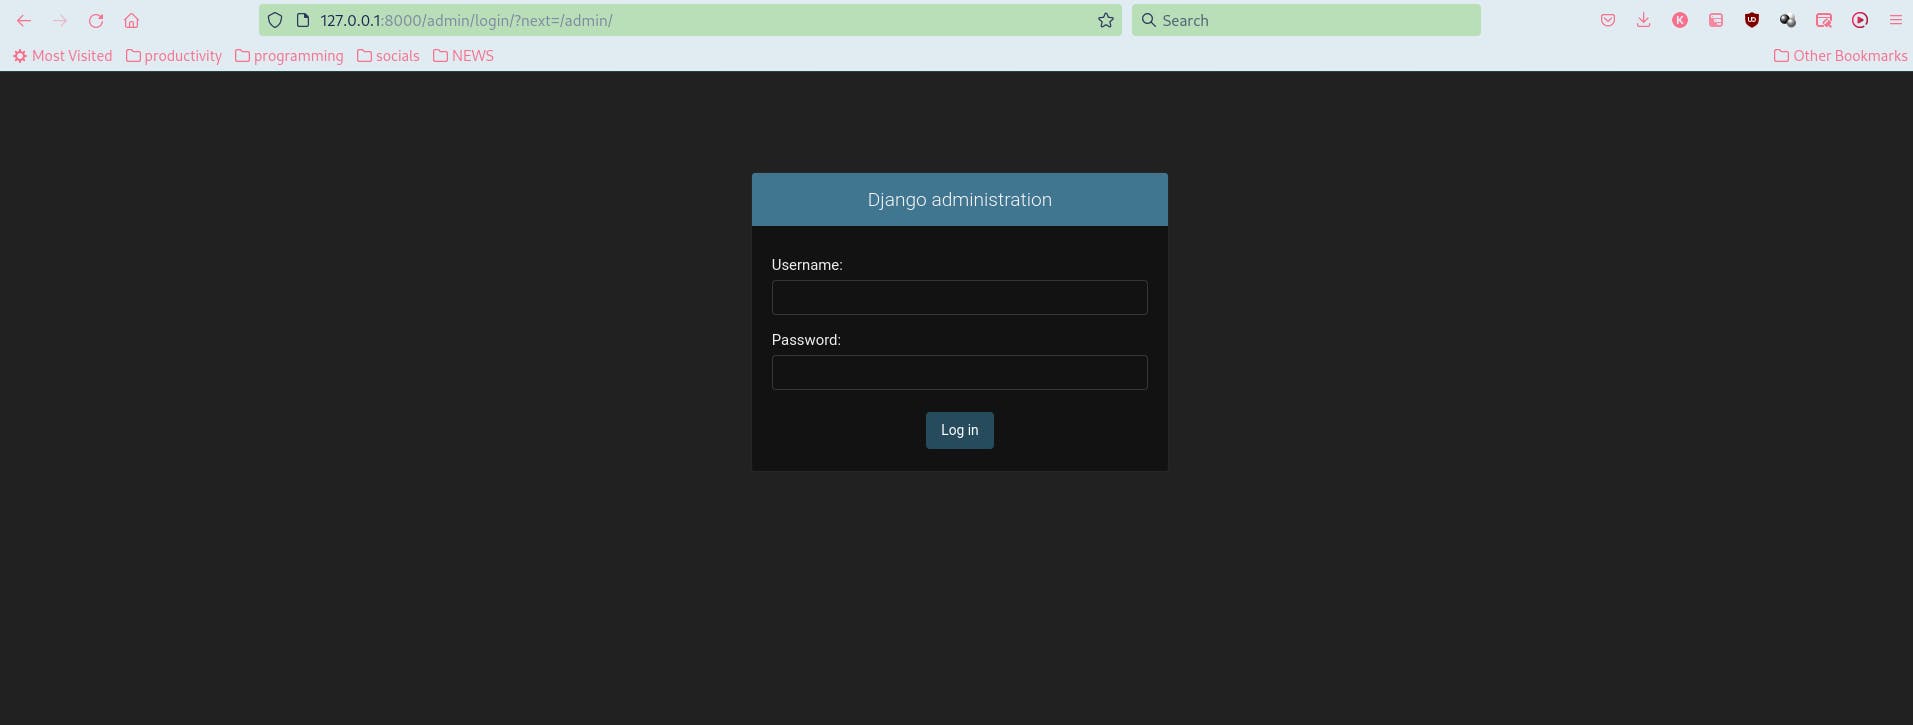
- This panel will be set up and used for managing our web app in future articles.
- We will write some routes and create an application in the next articles.
To stop the server , type
Ctrl + C.- In this article , we covered the first steps of creating a basic django application.
- In the next article, we will create a django application and do some url routing.
dont forget to drop your reactions regards this article. If you learnt something from this material, please leave a comment :)